Adding a trunk group to a route plan
You can add a trunk group to a route plan for a Lumen® SIP Trunking service using Control Center. Typically, you add a trunk group to provide a failover option (for route plans with a sequential hunt) or to balance call volume between two or more trunk groups (for route plans with a percent allocation hunt). If your organziational needs change, you can also remove a trunk group from a route plan.
To add a trunk group to a route plan:
- Click Services.
Control Center shows the Services console. Use the console to access an inventory of your services, check the status of orders, and manage your services.

- In the Service IDs box, click IQ Networking.
Control Center shows all IQ Networking services on the enterprise ID. SIP Trunking services have a service ID starting with VO-.
- Search for the service you want to work with. When you find the service you want to work with, click the hyperlinked service ID or click the icon (in the Actions column), then click View Details.
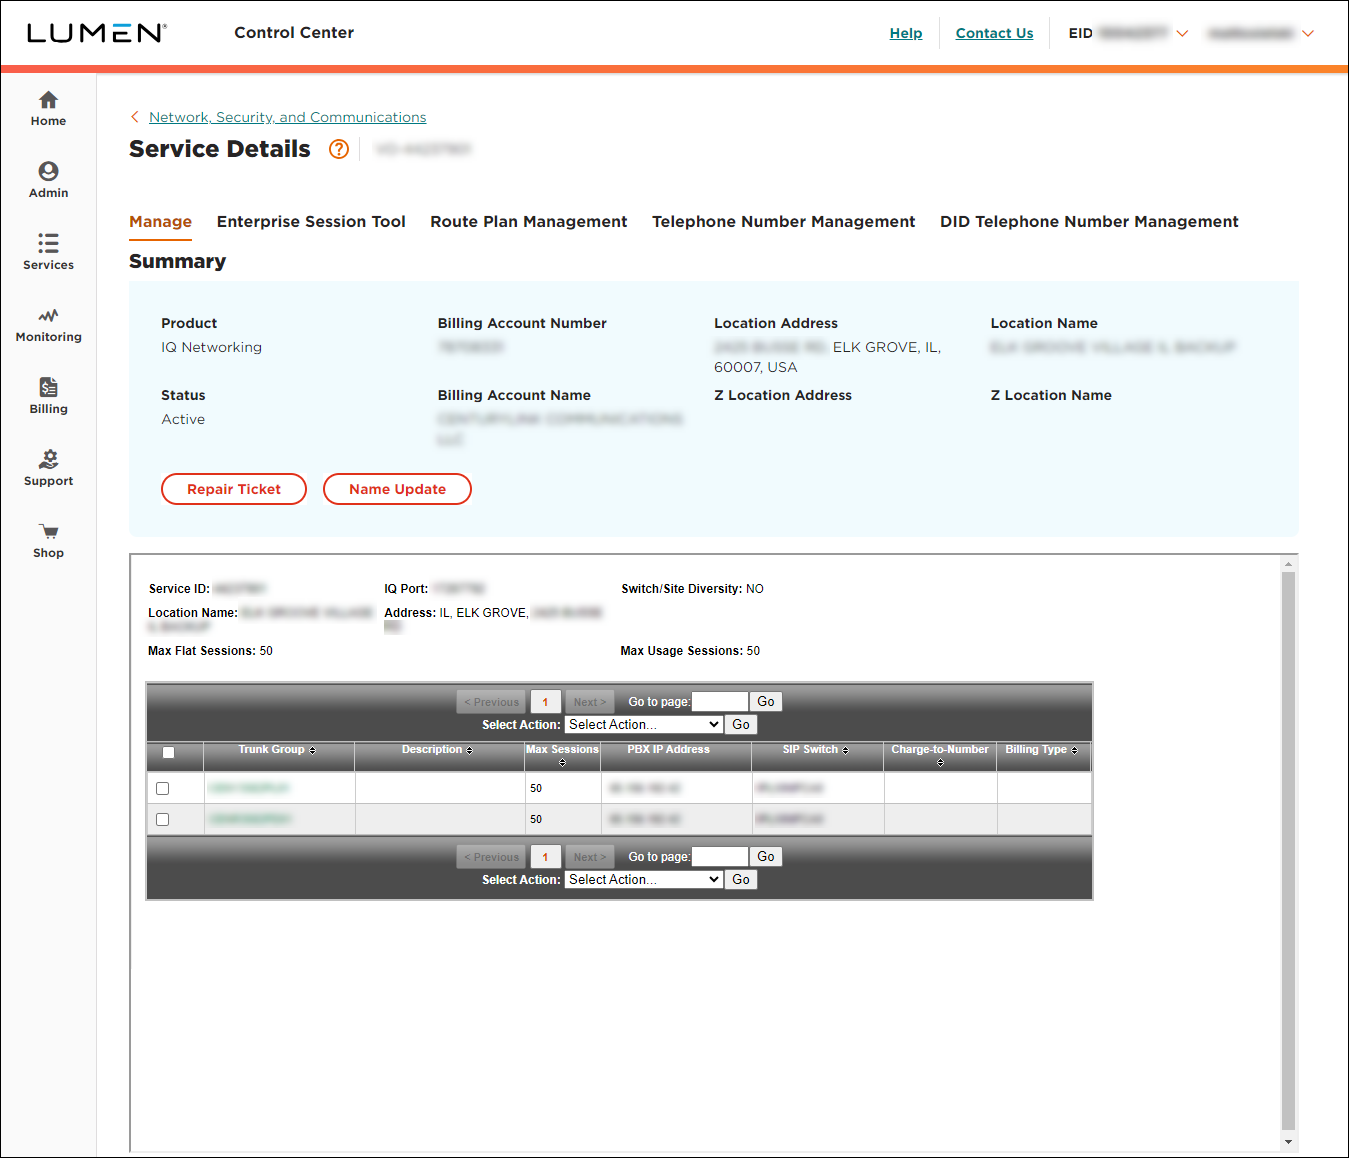
Control Center shows details for the SIP Trunking service you selected.

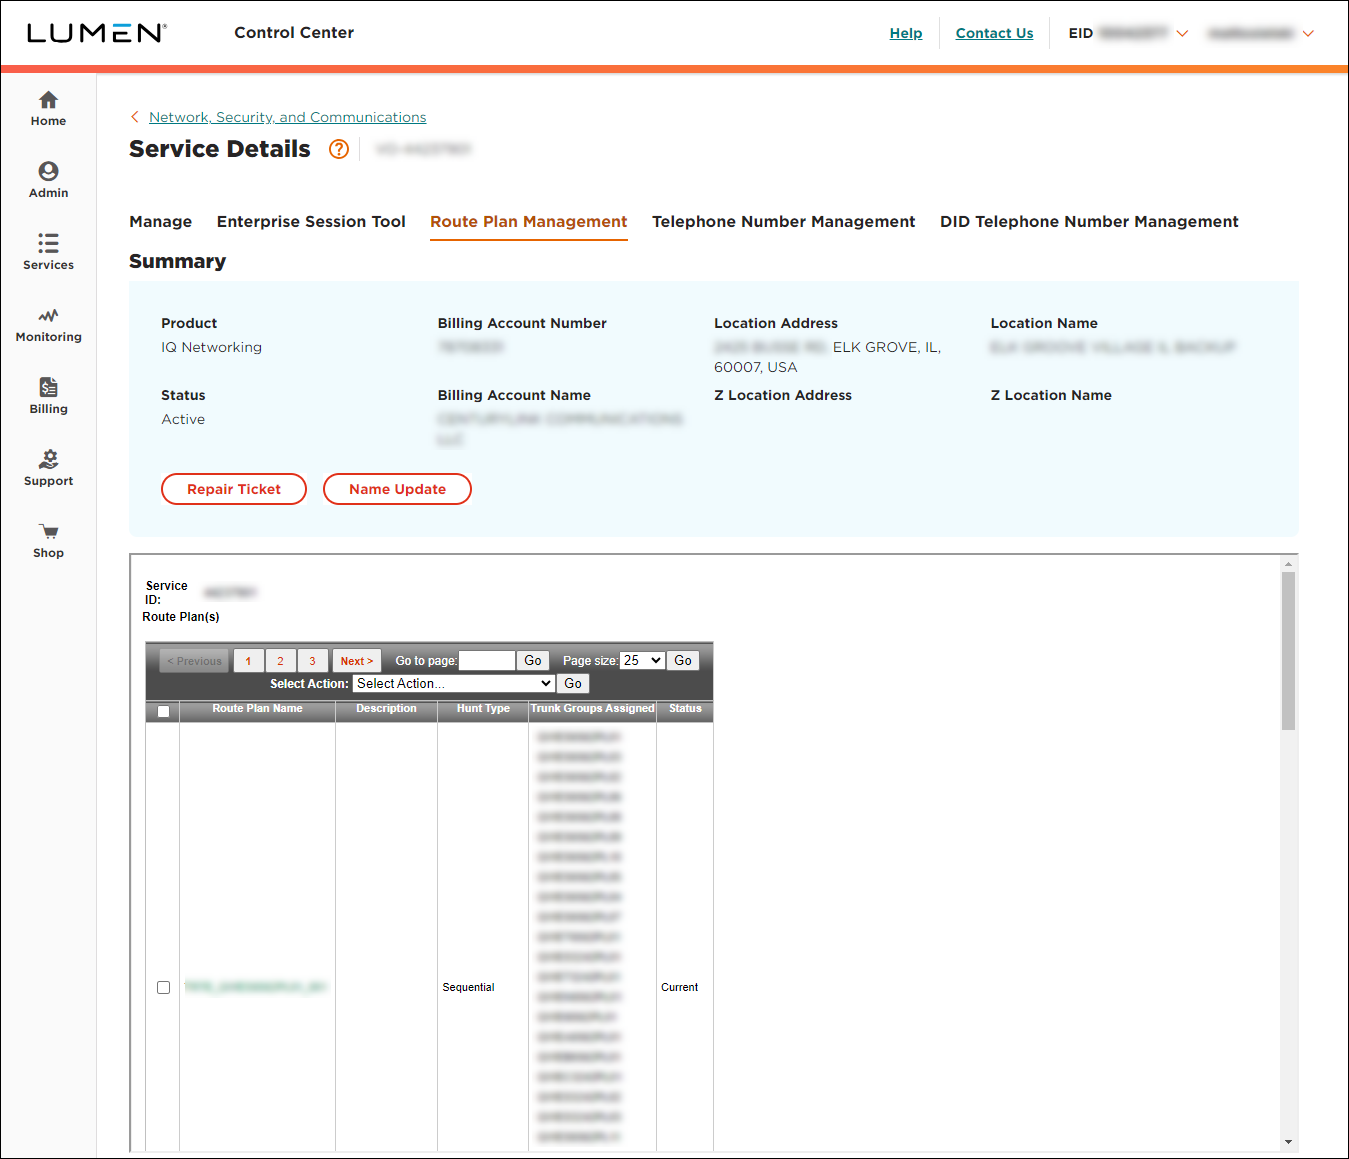
- Click the Route Plan Management tab.
Control Center shows the route plan(s) for the service.

- Click the link in the Route Plan Name column.
Control Center shows the details for the route plan you selected.
- From the Select Action list, select Add Trunk Group, then click Go.
Control Center lists the available trunk groups.
- Select the checkbox next to the trunk group(s) you want to add, then click Submit.
Control Center adds the trunk group to the route plan.
- Do one of the following:
- For a sequential route plan, place the trunk groups in the order you want by selecting a trunk group and using the Move Up and Move Down buttons to adjust the order.
- For a percent allocation route plan, type the percentage of calls you want to assign to each of the trunk groups you added to the route plan. (Your total must add up to 100%.)
- For a sequential route plan, place the trunk groups in the order you want by selecting a trunk group and using the Move Up and Move Down buttons to adjust the order.
- When you're done, click Submit.
Control Center saves your changes.
Not quite right?
Try one of these popular searches:
Explore Control Center
Top content
- Signing in to Control Center
- Retrieving your username or password
- Creating a new user
- Adding accounts to an enterprise ID
- Creating a repair ticket
- Creating a disconnect request
- Deactivating or reactivating a Control Center user
- Editing a notification setting
- Paying an invoice online
- Viewing an invoice


